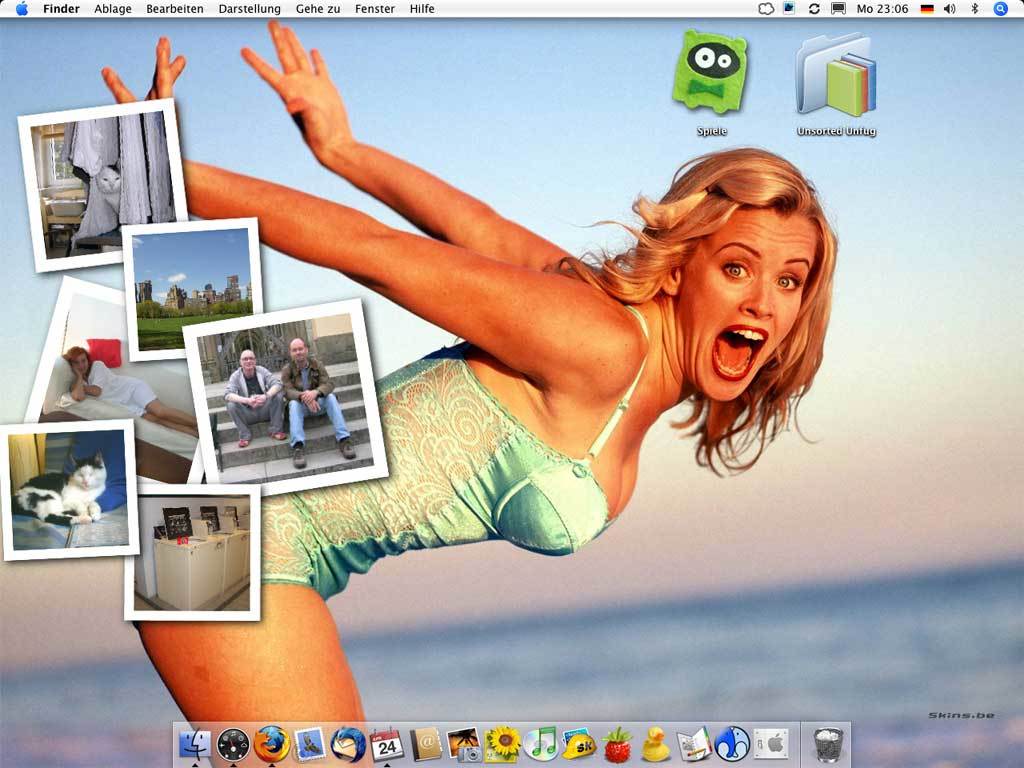
How to take a screenshot with Mac OS X
Everybody has been wondering if there is a function to take a screenshot from the current content on Mac. It's simple for windows-user, they only need to press the "print"-key and the screenshot is ready. User Mac OS X you don't have this key, but there are some interesting additional options.
Screenshot with Mac OS X : How it works
1. Whole Screen
A simple photo of the entire screen is similarly simple as in Windows, only the combination is more complicated. Press the following keys simultaneously:
Command + shift + 3
Now there's an image on your desktop saved as an .PNG file.
2. Free markable part
You only want a screenshot from a single part of the screen?No problem,for a freely configurable cut press the key combination above but change the 3 to a 4. The mousecursor will change to a crosshair and while pressing the left mouse-key you can mark the area for the screenshot.
3. Windows
If you want to take a picture from a single menu window,press the key combination for the markable part again.Press spacebar and you will see the cursor changes into a camera. Now click on the window to select it and press the mouse button.
4. Pictures in the clipboard
If you want to use the screenshot in a program it is more comfortable to save the screenshot in the clipboard and not on your desktop. With this option there is no unnecessary data trash and u can easily insert the picture into the programm.
Do you want to save the image directly to the clipboard so, press the following combination:
Command + shift + ctrl + 4
5. A quick look outside the box
There are different tools to take screenshots with Mac OS X which offer useful functions. Programs like Captur and Instant Shot can be accessed via the sidebar and offer additional file formats. This applications will help people who actually miss the "print"-key from windows to take a screenshot in 2 clicks.


